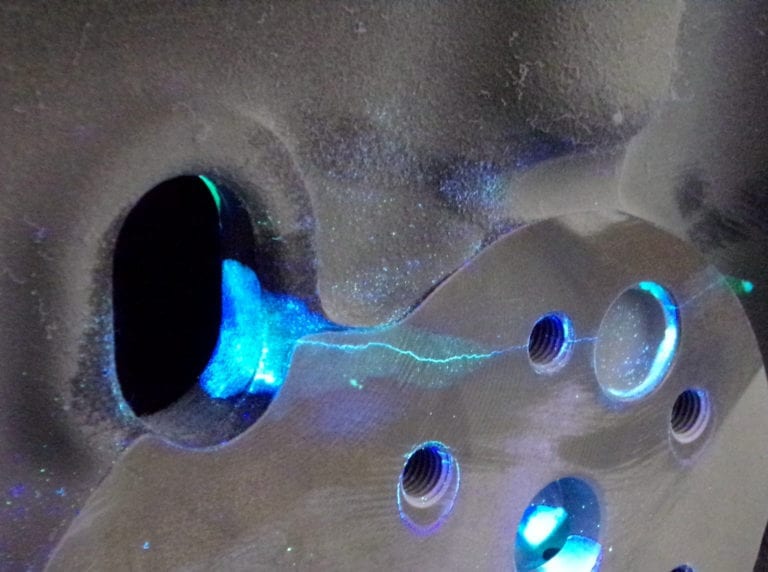
Crack detection and crack growth measurement
Cracks are detected during testing and analyzed after testing is completed.
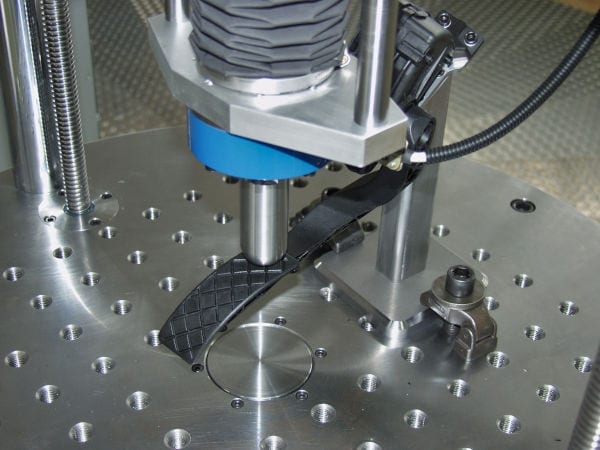
Our continuous crack detection technology enables crack detection tests to be run until cracks reach a specific length after which testing is stopped for examination. Various analytical tools can be used to detect microcracks and other damage and to complete an analysis of the damage to the part.
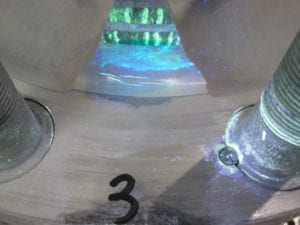
Each component or sample is run through various crack detection programs for expert analysis. Dye penetration and magnetic particles with a special crack detection agent and ultra-violet light methods are used to detect cracks depending on the material, crack length, construction, or surface structure of the sample.
Our capabilities
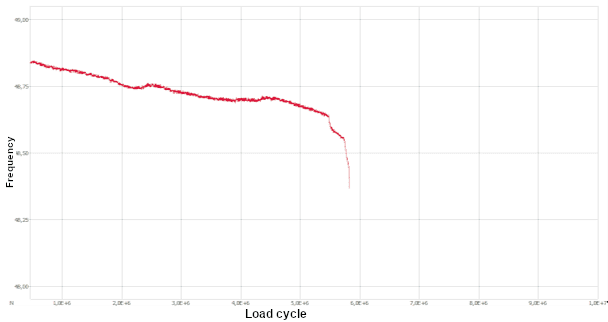
Detecting cracks during testing
Pausing/stopping testing when cracks occur
When a component is damaged, finding the point at which the crack started is critical. Continuous monitoring software allows us to set defined limits for a test allowing us to determine where cracks start to occur. The ability to stop/pause testing when a crack is first detected makes testing more efficient, saving time.
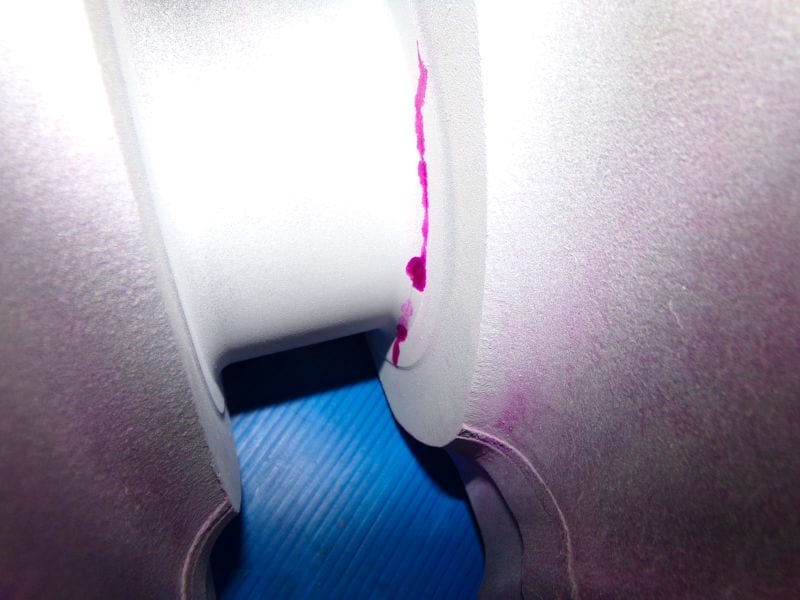
Documenting cracks
How does a new design variant perform compared to its predecessor?
Cracks are often invisible to the naked eye at the end of a fatigue test.
We use dye penetration tests (e.g. the red-white method) to recognize the path of a crack through a sample. The test specimen is first cleaned and then a medium in a contrasting color is applied. Due to capillary action, this, normally red, medium penetrates even the smallest cracks. After a short reaction time, the specimen is cleaned, dried, and sprayed with a white developing agent. The capillary action of the developing agent brings the remaining contrast medium to the surface so that the cracks become visible to the naked eye.
Our experts are trained in non-destructive testing according to DIN EN ISO 9712: (MT Level 2).
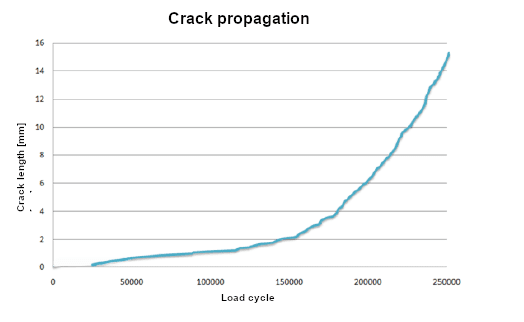
Determining Crack Severity
What is the maximum sustainable crack length?
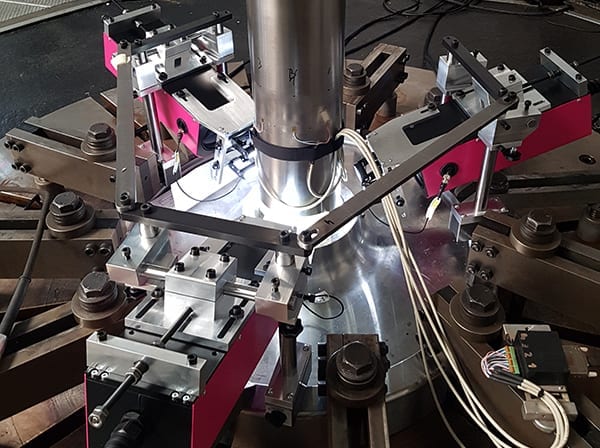
When assessing how critical damage to a part is (e.g. stones hitting railcar axles causing notches) the moment at which the crack begins within the notch and the rate at which it grows is of crucial importance. Synchronized with a high-frequency pulsator or a servohydraulic pulsator, crack length can be measured in real-time, significantly improving railroad safety as conclusions about the railway wheelset shafts can be drawn immediately.
Further services
- Creation of defined notches
- Crack-initiation during vibration testing
- Crack growth measured and documented photographically
- Crack analysis
- Crack growth rate analysis on railway wheelset shafts

Do your components need to be tested?
When it comes to testing your products, components or component groups on their load capacity, lifetime and reliability that‘s where we have the right solution. Please shortly tell us about your problem and we will reach out to you as soon as possible!


